Damage to plastic piping, whether from accidental punctures, ground movement, or freeze-thaw cycles, is a common issue that requires a quick and durable fix. For systems utilizing PVC (Polyvinyl Chloride), such as household drainage or field-specific irrigation piping, the repair process relies almost entirely on solvent welding new sections using specialized connectors. Successfully fixing a broken line depends on precise preparation and the correct use of PVC pipe fittings to create a chemically fused, watertight joint that can withstand operational pressure. A temporary fix may address the immediate leak, but a permanent repair ensures the system’s long-term efficiency.
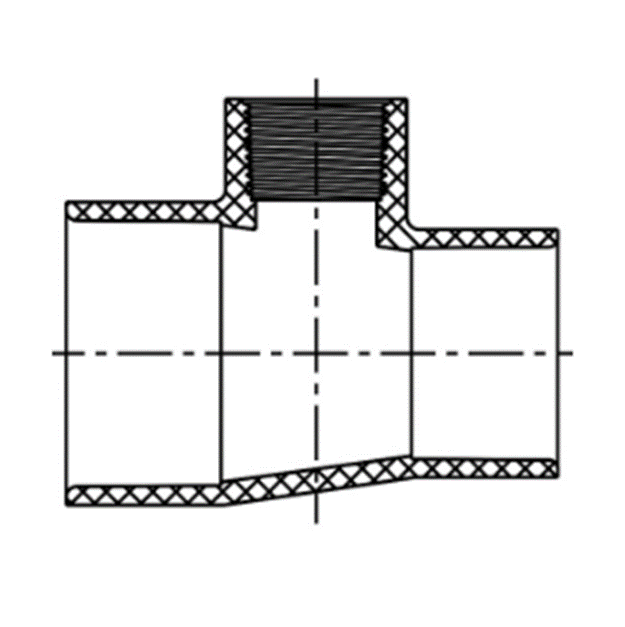
Assessing the Damage and Safety First
Before any repair begins, the water supply to the affected line must be shut off and the pipe drained completely. This eliminates pressure and prevents water from compromising the solvent cement bond. Once safe, assess the extent of the damage. For a simple crack or pinhole, a patch might seem appealing, but for pressurized lines, the standard procedure is always to cut out the compromised section entirely. A clean, uniform break is easier to repair than a complex fracture, making precise cutting essential for a reliable connection using new PVC pipe fittings.
Preparation: Cutting and Cleaning
The damaged section of pipe must be removed squarely, leaving clean, straight edges. Use a pipe cutter or fine-toothed saw to remove the section, ensuring the cut is perpendicular to the pipe wall. Next, deburr the pipe ends to remove internal shavings and chamfer the outside edge slightly. This bevel helps the pipe slide smoothly into the replacement PVC pipe fittings without wiping away the cement. Finally, use a clean cloth to wipe down both the pipe ends and the inside of the new coupling or connector to remove all dirt, grease, and moisture, which are enemies of solvent welding.
The Repair Process with Solvent Cement
The actual repair involves solvent welding. First, dry-fit the replacement section and the chosen PVC pipe fittings (usually a coupling or two new fittings and a small pipe segment) to ensure everything aligns correctly. Once the fit is confirmed, apply PVC primer generously to the outside of the pipe end and the inside of the fitting socket. Immediately follow the primer with a layer of PVC solvent cement. Quickly and decisively push the pipe fully into the fitting socket, giving it a quarter turn to spread the cement evenly and ensure a full chemical fusion. Hold the joint firmly for 30 seconds to prevent the pipe from pushing back out.
Curing and System Testing
The longevity of the fixed joint depends entirely on the curing process. While the joint sets quickly, it takes time for the solvent to fully evaporate and the molecular fusion to reach maximum strength. Refer to the cement manufacturer’s instructions for specific cure times, which vary based on pipe size, temperature, and humidity. Rushing this step by repressurizing the system too soon will result in joint failure. Once the cure time is met, slowly restore water pressure and inspect the repair site closely for any signs of leakage. This ensures the new PVC pipe fittings are performing reliably.
Conclusion Fixing plastic pipe is a straightforward process that emphasizes preparation, precision cutting, and correct chemical application to ensure a strong, permanent weld. By following these steps, you can restore full functionality to your water delivery system. As a provider of reliable, efficient PVC pipe and fittings, LESSO America customizes systems specifically for agricultural requirements. They design their innovative solutions to enhance crop growth by optimizing water delivery and reducing overall water waste.